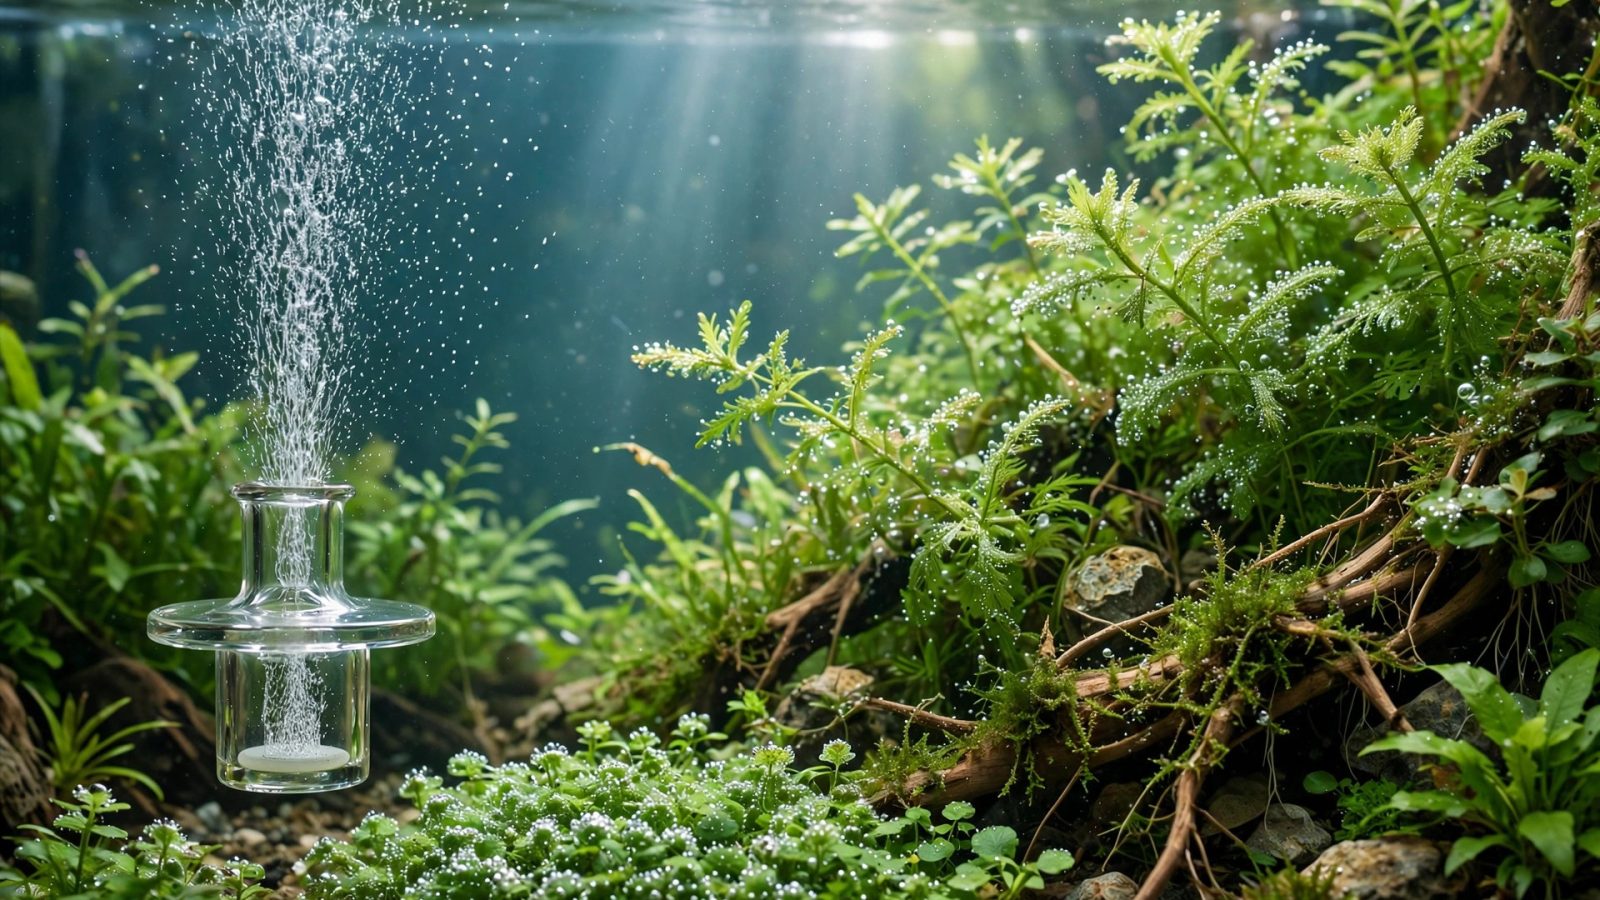
Carbon dioxide is the single most misunderstood input in the planted aquarium hobby. Beginners hear that CO2 is “optional,” then wonder why their carpeting plants melt and their red plants stay stubbornly green. Experienced aquarists call it the growth unlock — and they’re right, but only when the whole system is balanced. This guide covers everything: what CO2 does for aquarium plants, the three ways to add it (pressurized, DIY, and liquid), how to diffuse and measure it safely, and how to avoid the mistakes that gas fish or waste money.
If you’re new to the concept, the short version is this: plants need carbon to build tissue, and underwater they can’t get it from the air. In most tanks, dissolved CO2 is the limiting factor for growth — add more, and plants photosynthesize faster, grow denser, and outcompete algae. Whether you need injected CO2 depends on your plants and goals, which we cover in our guide on whether aquarium plants really need CO2.
What CO2 Does for Aquarium Plants
Photosynthesis runs on three inputs: light energy, water, and carbon dioxide. The simplified equation every biology student learns — 6CO2 + 6H2O → C6H12O6 + 6O2 — tells the whole story. Light provides energy, water is abundant, and CO2 supplies the carbon backbone of every leaf, stem, and root your plants grow.
In a typical low-tech tank, dissolved CO2 sits around 2–5 ppm (parts per million), replenished slowly by fish respiration, bacterial activity, and gas exchange at the surface. That’s enough for hardy species like anubias and java fern — see our Java fern care guide for a classic low-CO2 plant — but it’s starvation rations for demanding species. Bump CO2 to 25–35 ppm with injection, and you typically see:
- Faster growth: stem plants that crept along at an inch a month can grow an inch a week.
- Denser, more compact form: high CO2 plus good light produces bushier growth with tighter internodes instead of leggy, stretched stems.
- Better color: many red plants only develop intense coloration with ample CO2 driving photosynthesis.
- Carpeting success: foreground carpets like dwarf hairgrass and Monte Carlo spread dramatically faster with CO2.
- Algae suppression: healthy, fast-growing plants consume ammonia and nutrients before algae can capitalize on them.
The critical nuance: CO2 only helps if light and nutrients are also sufficient. Adding CO2 to a dim tank with no fertilizer is like putting racing fuel in a car with flat tires — the limiting factor just moves elsewhere. Balance is everything, which is why our guide to how much light aquarium plants need pairs naturally with this one.
The Three Ways to Add CO2
Every CO2 method falls into one of three camps: pressurized gas injection, DIY generation, or liquid carbon supplements. They differ enormously in cost, consistency, and results.
1. Pressurized CO2 Systems
The gold standard. A pressurized system stores liquid CO2 in a cylinder and meters it into the tank through a regulator, needle valve, and diffuser. Output is steady, adjustable, and capable of holding 30 ppm all day, every day. A basic setup includes:
- CO2 cylinder: typically 5 lb for tanks up to 75 gallons; lasts 3–6 months per fill at moderate bubble rates.
- Dual-stage regulator: drops tank pressure (800+ psi) to working pressure. Dual-stage prevents “end-of-tank dump,” where a nearly empty cylinder surges.
- Needle valve: fine-tunes the bubble rate. This is the precision control — don’t skimp here.
- Solenoid valve: shuts CO2 off at night on a timer, synced (or slightly offset) with your aquarium light schedule.
- Bubble counter: visual reference for your injection rate.
- Diffuser or reactor: dissolves the gas into the water. More on diffusion below.
- Drop checker: the essential safety monitor. See our CO2 drop checker guide for setup and reading.
- Check valve: prevents tank water siphoning back into the regulator. Cheap insurance — always use one.
Expect to spend $150–$300 for a complete quality setup, plus $15–$25 per cylinder refill. For budget options, see our roundup of cheap CO2 systems that actually work.
2. DIY CO2 Systems
DIY CO2 generates gas through fermentation (yeast + sugar) or chemical reaction (citric acid + baking soda) in sealed bottles, fed into the tank through airline tubing. It works — thousands of hobbyists grow beautiful plants this way — but output declines as the mixture exhausts, making stable levels harder to maintain.
DIY suits tanks under 30 gallons where the cost of pressurized gear is hard to justify. Our DIY CO2 guide compares the yeast and citric-acid methods with exact recipes, expected output curves, and the safety rules that prevent bottle failures.
3. Liquid Carbon Supplements
Products sold as “liquid CO2” (glutaraldehyde-based, e.g., Seachem Flourish Excel) are not actually CO2. They provide an alternative carbon source that some plants can metabolize. They’re useful as an algae-fighting supplement and a mild growth aid, but they don’t replicate injected CO2’s results — and they’re toxic to certain plants (vallisneria, some mosses) and invertebrates at high doses.
Our honest comparison of liquid vs pressurized CO2 breaks down the chemistry, costs, and realistic expectations so you can decide if liquid carbon fits your setup.
Diffusion: Getting CO2 Into the Water
Injecting CO2 is only half the job — the gas must dissolve efficiently or it just bubbles to the surface and escapes. Three diffusion approaches dominate:
- Ceramic/glass diffusers: produce a fine mist of micro-bubbles inside the tank. Cheap and simple; place under the filter outflow so current carries bubbles around the tank. Efficiency is moderate — you’ll see some bubbles reach the surface.
- Inline diffusers/atomizers: mount on the canister filter’s outflow tubing, dissolving CO2 before water re-enters the tank. Cleaner look, better efficiency, slightly higher cost.
- Reactors: chambers (inline or in-tank) that tumble CO2 until it fully dissolves. Near-100% efficiency — no visible bubbles at all. Best for larger tanks; overkill under 20 gallons.
Whatever method you choose, distribution matters as much as dissolution. CO2 must reach every plant, so position your diffuser where filter flow carries micro-bubbles across the full tank length. Dead spots with stagnant water will show poorer growth and more algae regardless of your bubble rate.
How Much CO2: Target Levels and Measurement
The widely accepted target for high-tech planted tanks is 25–35 ppm of dissolved CO2 during the photoperiod. Below ~15 ppm, demanding plants stall; above ~40 ppm, fish stress becomes a real risk.
The practical measurement tool is the drop checker — a small glass vessel holding pH-sensitive indicator solution (4 dKH) that changes color with CO2 levels: blue means too little, green means the target zone, yellow means too much. It lags real conditions by 1–2 hours, so read it as a trend, not an instant value. Full setup details are in our drop checker guide.
Start conservatively: begin at 1 bubble per second, observe the drop checker over several days, and increase gradually. Watch livestock closely during adjustment — gasping at the surface, rapid gill movement, or lethargy means back off immediately and add surface agitation.
CO2 Timing: Syncing With Your Lights
Plants only consume CO2 during photosynthesis — when lights are on. Running CO2 24/7 wastes gas and risks overnight pH crashes as CO2 accumulates while plants aren’t using it. The standard practice:
- CO2 turns on 1–2 hours before lights on, building levels so they’re at target when photosynthesis starts.
- CO2 turns off 1 hour before lights off, letting levels taper as photosynthesis winds down.
- A solenoid valve on a timer automates this. Manual daily adjustment gets old fast — automate from day one.
This timing dovetails with your light schedule — set both timers together when you configure the system.
CO2 Safety: Protecting Your Fish
CO2 is safe for livestock within the target range, but mistakes can be lethal within hours. The non-negotiable safety rules:
- Always run a drop checker. It’s your only continuous readout. Check it daily.
- Increase gradually. Never crank the needle valve — adjust in small steps over days.
- Maintain surface agitation. A lightly rippling surface allows excess CO2 to off-gas, creating a safety buffer. Still water + high injection is the dangerous combination.
- Know the emergency response: if fish gasp, do a large water change immediately and aim a powerhead or air stone at the surface. CO2 clears from water within minutes with vigorous agitation.
- Use a dual-stage regulator (or at minimum a quality single-stage) to prevent end-of-tank dump.
- Keep a check valve between bubble counter and diffuser.
Shrimp are more CO2-sensitive than most fish — if you keep caridina species, target the lower end (20–25 ppm) and watch behavior carefully.
Balancing CO2 With Light and Fertilizer
Here’s the framework experienced aquarists use: light sets the speed limit, CO2 is the fuel, and fertilizer provides the building materials. Raising one without the others creates imbalance — and imbalance feeds algae.
- High light + high CO2 + lean ferts → plants stall, algae exploits the excess light energy.
- High light + low CO2 + rich ferts → classic algae farm. This is the most common beginner failure.
- High light + high CO2 + complete ferts → explosive growth. Trim weekly or plants shade themselves out.
- Moderate light + moderate CO2 + complete ferts → the sweet spot for most hobbyists: strong growth, manageable maintenance.
If you’re seeing algae after adding CO2, the usual culprit is light that’s too intense for your CO2 level — not the CO2 itself. Our guide to signs of too much light walks through the dialing-back protocol.
CO2 and pH: What to Expect
Dissolved CO2 forms carbonic acid, lowering pH. A drop of 0.8–1.2 pH units from degassed baseline at peak CO2 is normal and harmless — fish adapt to the daily swing because it’s driven by CO2, not mineral acids. Don’t chase a “perfect” pH number; chase stable CO2. Chasing pH with buffers while injecting CO2 creates genuinely unstable chemistry.
Note that pH-based CO2 charts (pH + KH tables) are unreliable in tanks with aquasoil, driftwood tannins, or phosphate buffers — all of which skew the math. Trust the drop checker instead.
Common CO2 Mistakes
- No drop checker. Guessing CO2 levels by bubble count alone — bubble size varies by diffuser, so “3 bps” means nothing without the checker.
- CO2 running 24/7. Wastes gas, stresses fish overnight, and grows nothing extra.
- Diffuser in a dead spot. Micro-bubbles rising straight up in a corner aren’t feeding the carpet on the opposite side.
- Adding CO2 but not fertilizer. Faster growth burns through nutrients faster — deficiencies appear within weeks.
- Surface film blocking gas exchange. An oily surface film traps CO2 (and blocks oxygen). Skim it or increase surface movement.
- Turning CO2 off “to save gas” on weekends. Fluctuating CO2 grows algae better than plants. Consistency beats intensity.
Is Pressurized CO2 Worth It for You?
Pressurized CO2 is worth the investment if you want to grow carpeting plants, demanding stems, or intense reds — or if you simply want the fastest, most reliable growth. It’s overkill if you’re happy with low-light beginner plants and a relaxed maintenance routine; those thrive on the low-tech approach without CO2.
The middle path — DIY CO2 or liquid carbon on a small tank — works well as a trial. Many hobbyists start there, see what consistent carbon does for their plants, and upgrade to pressurized when they’re convinced. There’s no wrong answer, only mismatched expectations: match the method to your plants, your tank size, and how much tinkering you enjoy.
CO2 by Tank Size: What Changes
CO2 principles are universal, but equipment choices scale with tank volume:
- Nano tanks (5–10 gallons): A 5 lb cylinder is overkill — paintball-style adapters or 24 oz cartridges work, but cost per gram of CO2 is high. Many nano keepers run DIY citric-acid systems or liquid carbon instead. Diffusion is easy: a small glass diffuser anywhere with decent flow covers the whole tank. Watch livestock closely — small water volumes swing fast.
- Standard tanks (20–55 gallons): The sweet spot for pressurized. A 5 lb cylinder lasts 3–6 months, a single diffuser placed under the filter outflow distributes well, and costs amortize nicely. This is where pressurized CO2 makes the most economic sense.
- Large tanks (75+ gallons): Consider a 10–20 lb cylinder (fewer refills), an inline reactor instead of an in-tank diffuser, and possibly dual diffusers at opposite ends. Flow becomes the challenge — you may need a circulation pump dedicated to CO2 distribution.
Troubleshooting CO2 Problems
Drop checker stays blue no matter what
Check for leaks first: spray soapy water on every connection (regulator-to-cylinder, tubing joints, bubble counter seals). The classic leak point is the cylinder-to-regulator washer — replace it every few cylinder swaps. Also confirm your diffuser isn’t clogged; ceramic discs need periodic bleaching. Finally, make sure surface agitation isn’t excessive — a heavily rippling surface off-gasses CO2 as fast as you inject it.
Drop checker turns yellow but plants still struggle
CO2 isn’t your limiting factor — light or nutrients are. Yellow drop checker + poor growth + algae usually means too much light for the setup. Review our too-much-light symptoms before touching the needle valve.
pH swings wildly through the day
A 1.0 pH swing from CO2 alone is normal. Swings beyond 1.5 suggest very soft water with no buffering — crushed coral or a KH buffer in the filter stabilizes things. Never “fix” this by reducing CO2 below plant needs; fix the buffering instead.
Algae bloom started after adding CO2
Almost always one of three causes: (1) CO2 levels fluctuating (inconsistent DIY mixture, timer failures), (2) light too high relative to CO2, or (3) fertilizer not increased to match faster growth. Stable CO2 + balanced light + complete ferts resolves the vast majority of cases within 2–3 weeks.
Bubble counter fills with water
Your check valve failed or is installed backward. Water in the bubble counter means tank water is traveling toward the regulator — replace the check valve immediately and check the needle valve for corrosion.
The Real Cost of CO2: Year-One Math
Hobbyists often balk at pressurized CO2’s upfront cost without comparing it to the alternatives over time. Rough year-one totals for a 40-gallon tank:
- Pressurized (mid-range kit): ~$200 setup + 2–3 refills (~$20 each) = ~$250–260 year one, then ~$50–60/year after.
- DIY yeast: ~$30 in bottles/tubing/diffuser + sugar and yeast (~$5/month in mixture refreshes and your time every 2–3 weeks) = ~$90 year one, but with declining output curves and hands-on maintenance.
- DIY citric acid: ~$60–80 for a proper generator kit + citric acid/baking soda (~$8/month) = ~$160–180 year one, with more stable output than yeast.
- Liquid carbon daily dosing: ~$15 per 500 ml bottle, roughly one bottle per 2 months on 40 gallons = ~$90/year ongoing, forever — and it isn’t equivalent to gas.
Pressurized costs more upfront but becomes the cheapest per unit of results by year two — and the only method delivering truly stable 30 ppm. Our budget CO2 systems roundup shows how to get into pressurized for less.
CO2 FAQs
Will CO2 harm my fish?
At 25–35 ppm with a drop checker guiding you, no — millions of community tanks run these levels with healthy fish. Problems come from overdosing or equipment failure, which is why the drop checker and gradual adjustments are non-negotiable.
Can I run CO2 with a HOB filter?
Yes, but HOBs create significant surface agitation that off-gasses CO2. You’ll inject more to hold levels, and a diffuser placed under the HOB outflow gets blasted. It works — it’s just less efficient than a canister setup. Baffle the outflow if levels won’t hold.
Do I need CO2 for anubias, java fern, and other easy plants?
No. These plants evolved for low-CO2 environments and grow fine without injection — they’ll just grow faster with it. If your plant list is all easy species, spend the money on better lighting first. Our do plants need CO2 guide helps you decide plant by plant.
How long until I see results?
New growth appears within 1–2 weeks; existing leaves won’t transform, so judge by fresh shoots. Full transformation of a tank’s growth rate takes 4–6 weeks as plants adapt their enzyme levels to the new carbon availability.
Can I turn CO2 off when I go on vacation?
Don’t. A week without CO2 in a high-light tank invites algae; the timer and solenoid handle everything automatically. Top off the cylinder before you leave and let automation do its job.
The Bottom Line
CO2 injection is the highest-impact upgrade available to a planted tank — more transformative than any fertilizer or light fixture — but only as part of a balanced system. Start with the drop checker, go slow with the needle valve, keep your light in check, and feed your plants completely. Do that, and the CO2 does the rest: faster growth, denser carpets, richer colors, and a tank that finally looks like the ones that made you start this hobby.
Transitioning an Existing Tank to CO2
Adding CO2 to an established low-tech tank? Don’t flip every switch at once. Plants grown without CO2 have thin cuticles and enzyme profiles tuned for scarcity — flooding them with 30 ppm overnight causes melting as old leaves can’t adapt. The safe transition:
- Week 1: Install the system, start at roughly half your target bubble rate, and get the drop checker reading light green.
- Week 2: Raise to full target levels. Begin a complete fertilizer routine if you weren’t dosing — growth is about to accelerate.
- Weeks 3–4: Expect some old leaves to melt, especially on crypts and stem plants. This is normal adaptation, not failure. Trim melting leaves so the plant redirects energy to new CO2-adapted growth.
- Week 6+: New growth should be visibly faster, denser, and better colored. Now you can consider raising light intensity if plants show they want more — never before CO2 is stable.
Resist the urge to “make up for lost time” with extra light during the transition. Stability first, intensity later — the tanks that crash are the ones where everything changed in the same weekend.