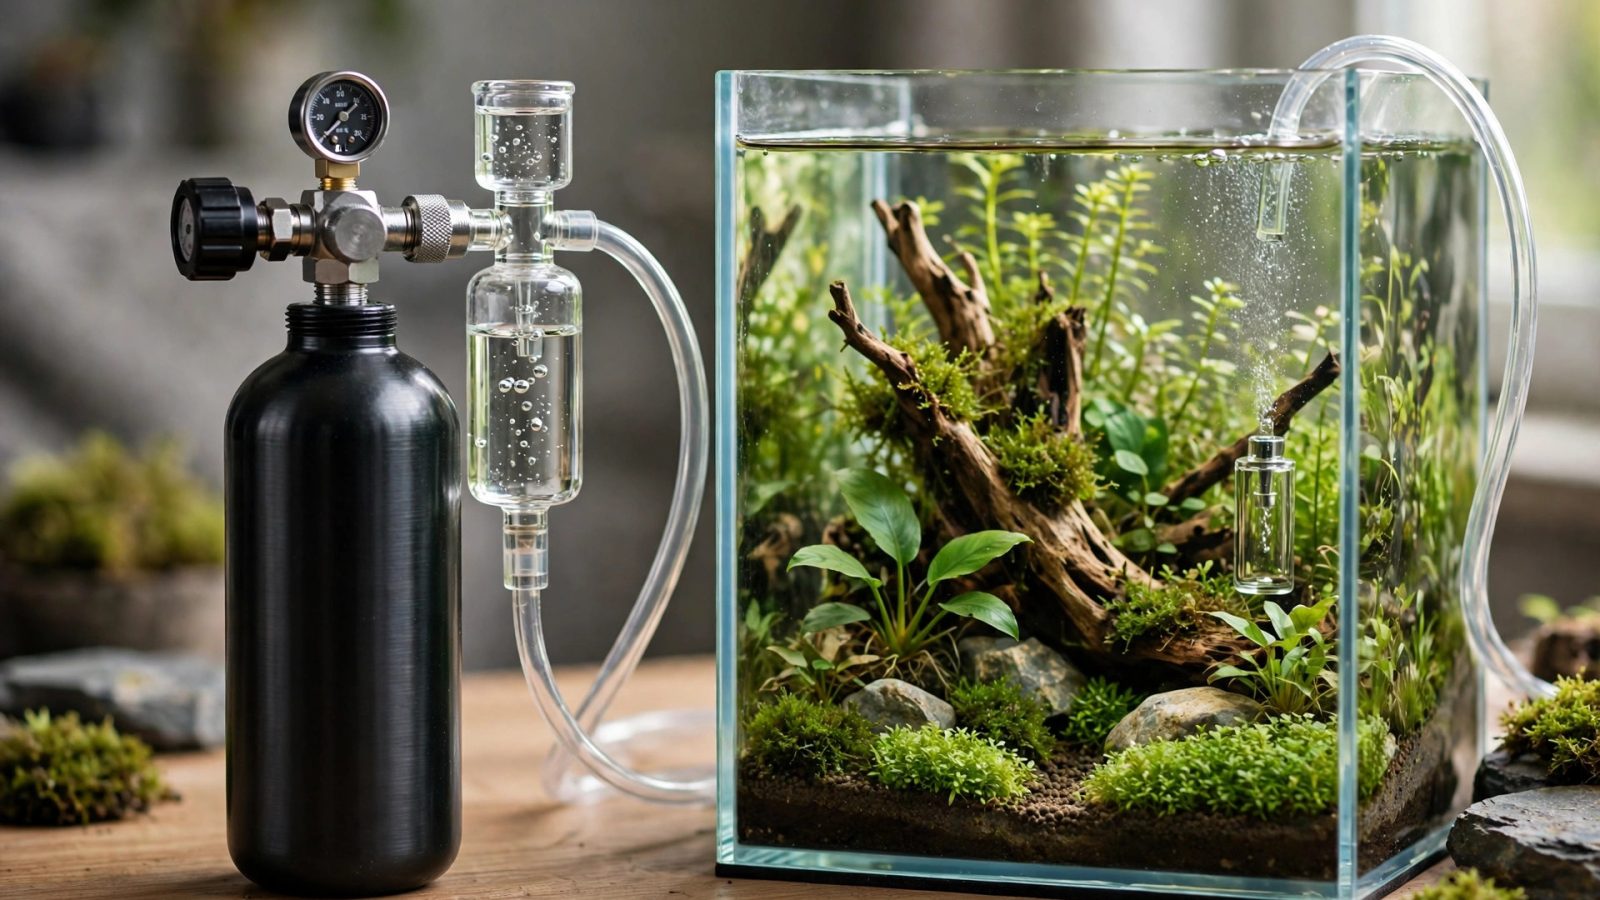
Pressurized CO2 transforms planted tanks, but the $250+ entry price stops many hobbyists. The good news: you don’t need a premium dual-stage regulator with all the accessories to get stable, effective CO2. These 5 budget-friendly CO2 systems deliver real results for less — with honest assessments of where each cuts corners and what that means for you.
New to CO2 entirely? Read our complete CO2 guide first for the fundamentals of diffusion, measurement, and safety.
What “Cheap” Should Still Include
Before the roundup, the non-negotiables — a CO2 system missing these isn’t cheap, it’s dangerous:
- A real needle valve for fine adjustment. Systems with only a coarse knob can’t hold a steady bubble rate.
- A check valve to protect the regulator from back-siphoning.
- A bubble counter so you can see and reproduce your rate.
- Compatibility with refills — proprietary cartridges that cost $15 for 3 oz of CO2 are a subscription trap, not savings.
1. Paintball Tank Adapter Setup (~$120–150 total)
The classic budget path: a paintball CO2 tank (20–24 oz, ~$30, refilled at sporting goods stores for $4–6) plus a paintball-to-standard adapter ($15) mated to an entry-level single-stage regulator with solenoid ($70–100).
Pros: cheapest entry to true pressurized CO2; tiny cylinder fits in any stand; refills are cheap and widely available.
Cons: 24 oz lasts only 4–8 weeks on a 40-gallon tank — you’ll refill often. Single-stage regulators risk end-of-tank dump as the small cylinder empties fast; watch the drop checker religiously near refill time.
Best for: tanks under 30 gallons where the small cylinder’s runtime is acceptable.
2. Entry-Level Complete Kit (~$130–170)
All-in-one kits (brands like FZONE, ZRDR, and similar) bundle a regulator with solenoid, bubble counter, diffuser, tubing, and check valve — everything except the cylinder. The regulators are single-stage with basic needle valves: functional, not refined.
Pros: one purchase, everything compatible, clear instructions. The fastest path from box to bubbles.
Cons: needle valve precision is mediocre — expect to fiddle more during initial tuning. Diffusers and tubing are usable but upgrade-worthy within a year. Pair with a standard 5 lb cylinder ($70–90 filled) for sensible refill intervals.
Best for: beginners who want one box and no compatibility research.
3. Used Commercial Regulator (~$80–120)
Quality dual-stage regulators (Victor, Matheson, Concoa) appear on auction sites and lab-surplus sellers for a fraction of retail. Add a Fabco or Ideal needle valve ($25–35), a solenoid ($25), and fittings, and you have commercial-grade hardware for entry-kit money.
Pros: the best hardware per dollar, period. Dual-stage stability eliminates end-of-tank dump. These regulators outlive the hobbyist.
Cons: requires research — you must match CGA-320 fittings, add the needle valve and solenoid yourself, and possibly replace gauges. No instructions; forums are your manual.
Best for: DIY-comfortable hobbyists who want premium stability on a budget and don’t mind assembly.
4. Citric Acid DIY Generator Kit (~$60–90)
Not pressurized, but the best-performing DIY option: purpose-built generator bottles with pressure gauges and needle valves, using citric acid + baking soda. Far more stable than yeast systems, with 2–4 weeks per charge on small tanks.
Pros: cheapest stable CO2 available; no cylinder refills or hydro-testing; genuinely effective on tanks under 30 gallons.
Cons: recurring chemical costs (~$8/month), manual recharging, and output still declines between charges. Not a permanent solution for large tanks.
Best for: nano and small tanks, or as a trial before committing to pressurized. Full details in our DIY CO2 guide.
5. Mini Pressurized Cartridge System (~$90–120)
Compact regulators designed for 45g–95g disposable cartridges, marketed for nano tanks. Tiny footprint, simple setup.
Pros: smallest possible pressurized setup; neat for desktop nano tanks.
Cons: the worst economics in CO2 — cartridges cost $2–4 each and last days to weeks. This is a convenience product, not a savings product. Only makes sense for tanks under 10 gallons where even a paintball tank feels oversized.
Best for: pico/nano tanks (under 10 gallons) where space matters more than running cost.
Cost-Per-Year Comparison (40-gallon tank)
- Paintball setup: ~$135 first year (setup + ~8 refills at $5) → ~$40/year after
- Entry kit + 5 lb cylinder: ~$230 first year → ~$50/year after
- Used commercial + 5 lb: ~$180 first year → ~$50/year after
- Citric DIY: ~$160 first year (kit + chemicals) → ~$95/year ongoing
- Mini cartridges: ~$200+ first year → ~$150+/year ongoing (avoid for this tank size)
The pattern: pressurized costs more upfront, then wins every year after. If you’ll run CO2 for more than a year, the entry-level kit with a 5 lb cylinder is the rational buy. Compare with liquid carbon costs to see why gas wins long-term.
Where Cheap Systems Cut Corners (and Whether It Matters)
- Single-stage vs dual-stage regulator: matters. Single-stage can dump as the cylinder empties. Mitigate with a drop checker and timely refills — or buy used dual-stage (option 3).
- Basic needle valves: annoyance, not danger. You’ll spend an extra 20 minutes dialing in. Fine.
- Cheap diffusers: produce coarser bubbles = wasted CO2. A $12 quality glass diffuser is the highest-ROI upgrade in budget CO2.
- No-name solenoids: the one corner not to cut. A stuck-open solenoid runs CO2 all night. Buy solenoids from established aquarium brands even in a budget build.
- Thin tubing: CO2-proof tubing matters — silicone leaks CO2 through its walls. Genuine CO2-resistant tubing costs little; don’t substitute.
The Bottom Line
For most hobbyists, the sweet spot is the entry-level complete kit with a 5 lb cylinder: ~$230 all-in, genuine pressurized stability, and $50/year running costs. Go paintball if the tank is small, go used-commercial if you’re handy, and go citric-DIY if you want to trial CO2 before investing. Whatever you choose, budget the drop checker and check valve as mandatory — the cheapest system is the one that doesn’t gas your fish.
Step-by-Step: Setting Up Your First Budget CO2 System
Bought the entry-level kit? Here’s the assembly order that avoids the classic mistakes:
- Inspect everything before connecting: check the regulator washer (replace if cracked), confirm the needle valve turns smoothly, verify the solenoid clicks when powered.
- Attach the regulator to the cylinder with the cylinder valve closed. Tighten firmly — CO2 fittings need real torque, but don’t cross-thread.
- Connect tubing: regulator → bubble counter → check valve → diffuser. The check valve goes after the bubble counter (protects the counter and regulator), oriented with flow toward the tank.
- Mount the diffuser low in the tank, under the filter outflow path. Fill the bubble counter halfway with water.
- Leak test: open the cylinder valve slowly, then brush soapy water on every connection. Bubbles = leak. Fix before proceeding — a slow leak empties a 5 lb cylinder in weeks.
- Set initial rate: with the solenoid powered (timer on), adjust the needle valve to ~1 bubble per second.
- Install the drop checker with fresh 4 dKH solution, opposite the diffuser.
- Wait 24 hours before adjusting. Then follow the checker tuning procedure over the next week.
- Set the solenoid timer: CO2 on 1–2 hours before lights, off 1 hour before lights-out.
Maintenance Schedule
- Daily (first 2 weeks): glance at the drop checker and bubble counter. That’s it — 10 seconds.
- Weekly: confirm bubble rate hasn’t drifted; wipe diffuser surface if flow looks reduced.
- Monthly: replace drop checker solution; inspect tubing for brittleness; check cylinder pressure gauge (a sudden drop means refill soon).
- Every 3–6 months: refill cylinder; bleach-soak the diffuser (1:20 bleach, then dechlorinate thoroughly); replace the cylinder washer.
- Yearly: replace check valve (they fatigue); inspect regulator gauges for accuracy.
Refills: Where and How Much
- Welding/gas suppliers: cheapest for 5–20 lb cylinders ($15–25). They’ll swap or fill while you wait.
- Fire extinguisher services: often handle CO2 cylinders, similar pricing.
- Sporting goods stores: for paintball tanks ($4–6). Fast and convenient.
- Aquarium shops: most expensive ($30+ for 5 lb) but convenient. Fine in a pinch.
- Beverage/kegerator suppliers: food-grade CO2, slightly pricier, excellent quality.
Ask about hydro-testing: cylinders need re-certification every 5 years (~$25–40). Factor it into long-term costs; swaps at gas suppliers usually sidestep this since you get a certified cylinder each time.
When to Upgrade From Budget Gear
Budget systems don’t expire — upgrade when a specific limitation bites:
- Needle valve won’t hold steady: upgrade to a Fabco or Ideal valve ($25–35) without replacing the regulator.
- End-of-tank dump scares you: move to dual-stage (used commercial regulators are the value play).
- Diffuser clogs monthly: switch to an inline atomizer or reactor.
- Tank upgraded to 75+ gallons: bigger cylinder, possibly dual diffusion.
Upgrade components, not systems. A budget regulator with a quality needle valve and diffuser performs 90% as well as a premium kit at half the price.
Regulator Anatomy for Beginners
Understanding what each part does helps you shop and troubleshoot:
- Cylinder connection (CGA-320): the nut that mates to the CO2 tank. Uses a fiber or nylon washer — always replace when swapping cylinders if the old one looks compressed.
- High-pressure gauge: shows cylinder pressure (~800 psi full). Drops suddenly only when nearly empty — it’s not a fuel gauge, it’s an “almost gone” warning.
- Low-pressure gauge: shows working pressure to the needle valve (typically 10–30 psi). This is your real operating readout.
- Needle valve: the precision adjustment. Quality valves (Fabco, Ideal, Swagelok) hold settings for months; cheap ones drift and need frequent tweaking.
- Solenoid: electromagnetic on/off valve. Buy from aquarium brands (not generic industrial) — aquarium solenoids are designed for continuous duty and low heat.
- Bubble counter: visual flow reference. Fill with water or mineral oil (oil doesn’t evaporate). Built-in check valves in counters are convenient but replace the standalone check valve too — redundancy is cheap.
Red Flags When Shopping Budget CO2
- No needle valve, just a knob — you can’t tune precisely. Pass.
- Plastic-bodied regulator — CO2 at 800 psi deserves brass or stainless. Pass.
- “Disposable cartridge only” with no standard fitting — the cartridge treadmill. Pass unless it’s a nano tank.
- No solenoid option — manual daily on/off gets old within a week. Pass.
- Bundle lacks a check valve — add $5, but its absence suggests the seller doesn’t understand CO2 safety. Be skeptical of the rest.
- Reviews mentioning “can’t get below 3 bubbles per second” — the needle valve is too coarse for small tanks. Common in the cheapest kits.
Getting Help: Community Resources
CO2 is the topic where community knowledge most exceeds manufacturer instructions. Planted-tank forums and subreddits have exhaustive threads on every budget regulator — search “[product name] review planted tank” before buying. Local aquarium clubs often have members who’ll help you set up your first system in person; an experienced eye during initial tuning is worth more than any manual. And when something behaves oddly, our complete CO2 guide’s troubleshooting section covers the common failures.
Negotiating Refills and Cylinder Swaps
Practical tips from experienced CO2 users:
- Ask for “beverage grade” if available — marginally purer, same price at most suppliers. Standard industrial CO2 is fine for aquariums, but beverage grade is the same cost when offered.
- Swap vs refill: swaps are faster (walk in, walk out with a full cylinder) and sidestep hydro-test worries. Refills keep your cylinder but take longer. For 5 lb tanks, swapping wins on convenience.
- Keep a spare: serious planted-tank keepers own two cylinders. When one empties, swap immediately and refill at leisure — no gap in CO2 stability. A used 5 lb cylinder costs $40–60 and eliminates the most common CO2 crisis.
- Track your consumption: note the date of each refill. When intervals shorten unexpectedly, you have a leak — the soapy-water test finds it.
The “Good Enough” Principle
CO2 forums can make you feel that anything short of a $400 dual-stage system with pH controller is reckless. Reality: thousands of beautiful tanks run on entry-level kits with single-stage regulators, conscientious drop-checker monitoring, and timely refills. The equipment matters less than the habits — daily glance at the checker, gradual adjustments, respect for livestock signals. Buy the best you can afford, then operate it attentively. A careful beginner on budget gear outperforms a careless hobbyist on premium equipment every time.
The bottom line on budget CO2: spend where it counts (needle valve precision, solenoid reliability, drop checker), save where it doesn’t (fancy diffusers, brand premiums), and operate attentively. The fish don’t know what the regulator cost — they know whether the levels are stable.