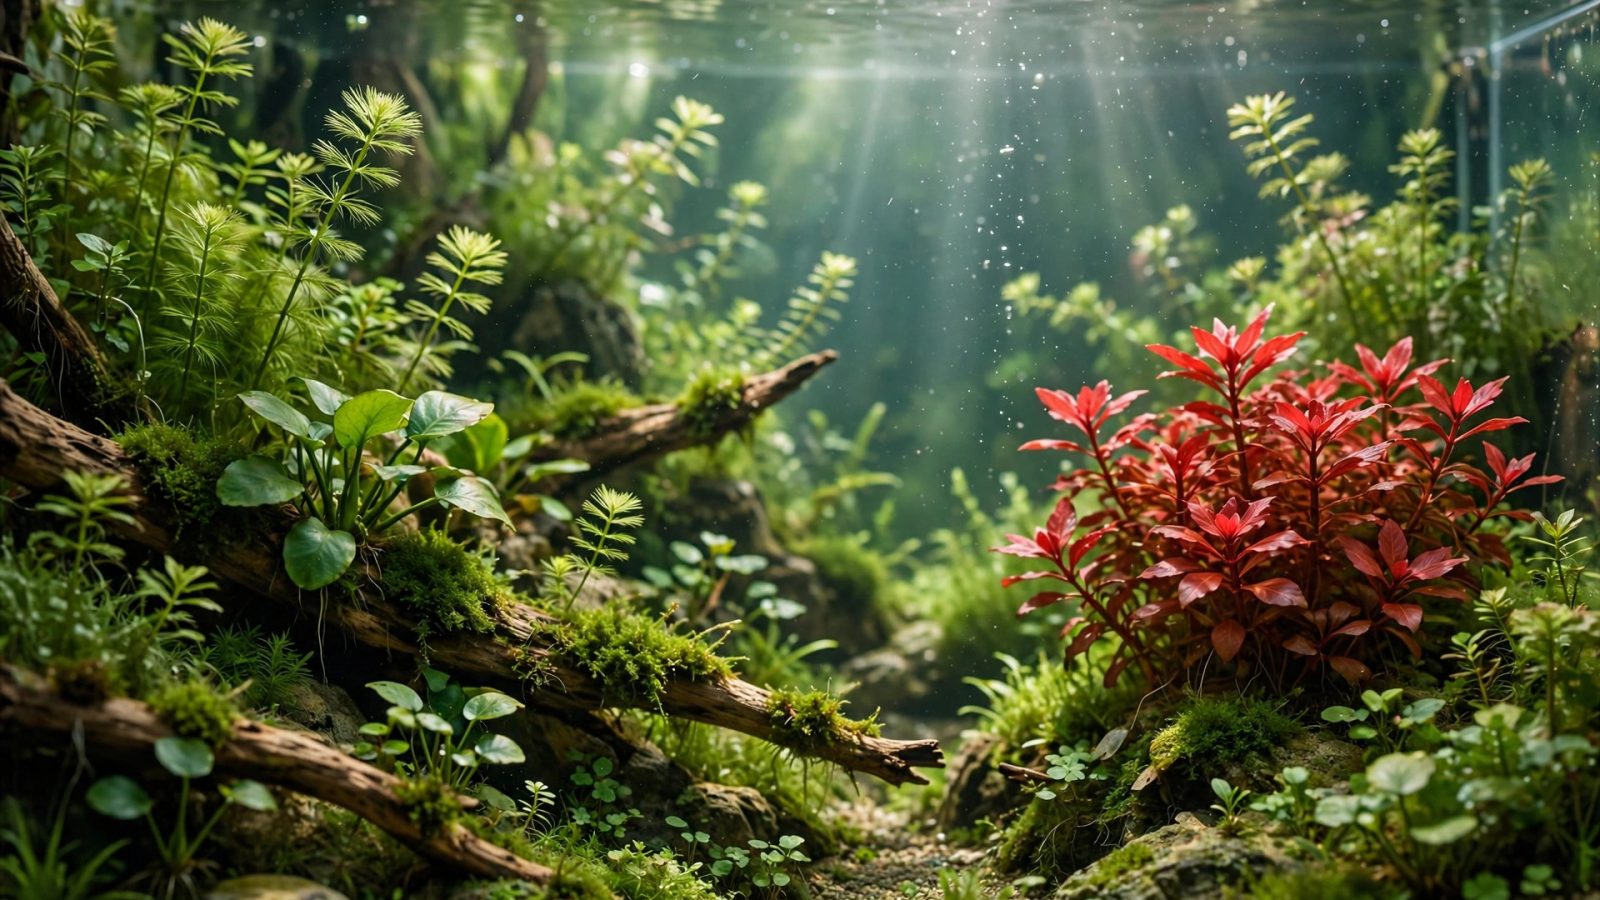
Aquascaping focal points are where the eye lands first — and where it keeps returning. Every strong layout has one: the master stone in an iwagumi, the red street in a Dutch tank, the great driftwood root in a nature scape. Placement isn’t taste or luck; it’s geometry. This guide covers the rules that put focal points where they work hardest: the rule of thirds, the golden ratio, focal hierarchies, and the mistakes that leave tanks feeling aimless.
What Is a Focal Point?
The focal point is the visual anchor of your layout — the element with the most visual weight, which everything else supports. It can be:
- A hardscape feature: the oyaishi master stone, a dramatic driftwood trunk, a rock formation.
- A plant mass: the reddest Dutch street, a specimen Amazon sword, a flowering Anubias cluster.
- A negative-space feature: in minimalist layouts, the open sand path itself can be the focal journey.
One layout, one primary focal point. Two competing focal points split the viewer’s attention and the tank feels argumentative. Supporting elements can have secondary interest, but they must clearly defer to the lead.
Rule 1 — The Rule of Thirds
Mentally divide the tank’s front view into a 3×3 grid. The four intersections of the gridlines are the power positions — place your focal point on or near one of them, never dead-center. The lower two intersections suit most aquascapes (focal elements sit low in the water column); the upper two work for tall emergent compositions.
Why it works: centered compositions feel static and “posed” — the eye arrives and stops. Off-center placement creates visual tension: the eye moves between the focal point and the balancing negative space, which makes the layout feel dynamic and larger.
Practical method: measure your tank’s width, mark the one-third and two-thirds points with tape on the front glass during the dry layout phase, and position your oyaishi or main wood so its visual center sits on one of those marks.
Rule 2 — The Golden Ratio (1:1.618)
The golden ratio is the rule of thirds’ more precise cousin. Divide the tank width by 2.618; measure that distance from one side — that’s your golden point (roughly the 38% mark, slightly inside the rule-of-thirds line). Classical iwagumi and competition scapes often use this exact placement for the oyaishi.
In practice, the difference between the thirds-line (33%) and the golden point (38%) is subtle — a few centimeters in a 60 cm tank. Use the golden ratio when you’re fine-tuning a competition layout; the rule of thirds is plenty for everyday scapes. What matters is that you’re near these points, not dead-center.
Rule 3 — One Focal Point, Clear Hierarchy
Establish a visual hierarchy: primary focal point (the star), secondary accents (the supporting cast), and background fill (the chorus). The hierarchy is enforced by:
- Size: the focal element is the largest of its kind (biggest stone, tallest wood, boldest plant mass).
- Contrast: the focal point contrasts most with its surroundings — darkest rock against bright carpet, reddest plants against green.
- Isolation: give the focal point breathing room. A master stone crowded by neighbors loses its authority; negative space around it amplifies it.
In an iwagumi, this hierarchy is formalized as oyaishi → fukuishi → soeishi → suteishi. In a Dutch tank, it’s the showpiece red street at the thirds-line with supporting streets stepping down in intensity. Same principle, different materials.
Rule 4 — Lead the Eye With Flow Lines
A focal point works best when the rest of the layout points at it. Create flow lines — visual paths the eye follows:
- Hardscape angles: tilt stones and wood so their long axes aim toward the focal point.
- Plant streets: in Dutch and nature styles, run plant masses on diagonals converging near the focal area.
- The substrate path: a sand path or valley (see creating depth) naturally leads the eye to wherever it terminates — put your focal point there.
- Height gradients: arrange plant heights to rise toward the focal point, like an audience facing a stage.
Rule 5 — Balance Asymmetry With Visual Weight
Off-center focal points need counterbalance or the tank feels lopsided. Balance isn’t symmetry — it’s equal visual weight on both sides:
- A large focal stone on the left balances against a smaller stone group + taller plants on the right.
- Dark, heavy elements balance larger areas of light, fine-textured plants.
- A tall element on one side balances horizontal spread on the other.
Test balance with the squint test: squint at the tank until details blur. You should see a pleasing distribution of light and dark masses, with the darkest/heaviest mass at your focal point and nothing feeling “heavier” on the opposite side.
Focal Points by Style
- Iwagumi: the oyaishi at the golden point; everything else defers. See the full iwagumi layout guide.
- Dutch: the most colorful street at the one-third mark; height and color step down toward the edges.
- Nature style: the main driftwood or rock formation, usually at a thirds intersection, with plants arranged to frame it.
- Triangle composition: the apex — the tallest point of the triangle — placed off-center per triangle layout rules.
- Island style: the island’s peak; the surrounding negative space amplifies it. See island-style setup.
- Jungle: even wild layouts benefit from one specimen plant (a great sword, a moss-covered root) as an anchor. See jungle aquascaping.
Focal Point Mistakes
- Dead-center placement. The single most common composition error. Off-center, always.
- Two equal focal points. If you have two great stones, make one clearly subordinate (smaller, lower, leaning toward the master) or use one in another tank.
- Focal point too small. A timid focal point gets lost. The master element should be bold — roughly two-thirds of the tank’s height for hardscape.
- No breathing room. Crowding the star with neighbors at the same height and visual weight.
- Focal point at the very edge. Off-center doesn’t mean cornered — keep it on the thirds-line, not against the glass.
- Competing colors. A red plant mass fighting a red-toned rock for attention. One color star per tank.
Frequently Asked Questions
Where should the focal point be in an aquarium?
At a rule-of-thirds intersection — roughly one-third of the way across the tank’s width and in the lower half vertically. Never dead-center.
Can an aquascape have two focal points?
It shouldn’t have two equal ones. One primary focal point with clearly subordinate secondary accents is the correct structure; two competing stars split attention and flatten the composition.
What makes a good focal point?
The element with the most visual weight: largest, highest-contrast, and given the most negative space. In rock layouts it’s the master stone; in planted layouts it’s the boldest plant mass.
Case Studies: Focal Placement in Three Tank Sizes
30 cm nano cube
One small seiryu stone (8 cm tall) at the left thirds-line, Monte Carlo carpet, a Bucephalandra accent on the stone. The focal point is 10 cm off-center in a 30 cm tank — proportionally the same move as in a big tank. Nano compositions fail when the focal element is too large (a 15 cm stone in a 30 cm cube leaves no negative space) — scale the star to the stage. See nano plant picks.
60 cm standard
The classic learning size. Oyaishi 20 cm tall at the 38% golden point, fukuishi leaning toward it, soeishi receding right. Or driftwood trunk at the left third with plant heights rising toward it (triangle). At 60 cm, the thirds-lines sit ~20 cm from each side — mark them with tape during dry layout.
120 cm show tank
Big tanks need bolder focal points — a 20 cm stone that dominates a 60 cm tank disappears in a 120 cm. Scale up: 35–40 cm master stone or a major driftwood root structure. Consider two-tier hierarchy: a primary focal at the golden point plus a clearly subordinate secondary interest at the opposite third (smaller, lower, less contrast). The secondary stop gives the eye somewhere to travel without competing.
Living Focal Points: Using Fish
Advanced scapers compose with livestock in mind. A school of 20 chili rasboras isn’t decoration — it’s a moving focal accent that draws the eye wherever it shoals. Design for it: leave open swimming space in front of the hardscape focal point so the school stages there; choose fish colors that contrast the scape (red fish over green carpet, silver fish against dark wood).
Centerpiece fish (a betta, a pair of rams, angelfish) function as living focal points — place their preferred territory (a cave, a sheltered corner) near but not on the hardscape focal point, so fish and scape compose together rather than competing. This is advanced choreography, but it’s what separates good tanks from unforgettable ones.
The 10-Minute Focal Audit
For an existing tank that feels “off,” run this audit:
- Squint test: blur the details. Where’s the darkest/heaviest mass? That’s your de facto focal point — is it where you want it?
- Thirds check: is that mass near a thirds-line, or centered/edge-crammed?
- Competition check: is there a second mass of similar weight? If yes, subordinate one (shrink, lower, move, or remove).
- Breathing room: does the focal element have clear space around it, or is it crowded?
- Flow lines: do hardscape angles and plant masses lead toward the focal point, or point randomly?
Most “something’s wrong but I can’t tell what” tanks fail check 1 or 3 — the focal point is misplaced or contested. Fixing focal placement often transforms a tank more than any plant change. For the full error catalog, see beginner mistakes.
Focal Points and Negative Space
The focal point doesn’t exist in isolation — it’s defined by what surrounds it. Negative space is the frame: the open water, bare sand, or low carpet around the star that lets it shine. Rules of thumb:
- Give the focal element at least its own width of clear space on the viewing side.
- In minimalist styles (iwagumi, island), negative space is 50–70% of the tank — the emptiness is the design.
- In dense styles (jungle, Dutch), negative space is smaller but still present — a low foreground corridor, a gap between masses.
- Never let equipment intrude on the focal zone — filter intakes and heaters go at the far edges, hidden by plants.
When to Break the Rules
Rules serve the layout, not the other way around. Deliberate rule-breaking works when you understand what you’re sacrificing:
- Centered focal point: works in island style (symmetry suits the concept) and in perfectly symmetrical tanks viewed head-on. Everywhere else, it’s a risk.
- Two focal points: works in very long tanks (120 cm+) where the eye needs two stops on its journey — but they must be clearly ranked (primary + secondary), never equal.
- No distinct focal point: works in jungle style, where the overall lushness is the point. Even then, one specimen plant as an anchor improves the result.
The pattern: break rules in service of a concept (island symmetry, jungle lushness), never from indecision. If you can’t articulate why the rule is broken, it isn’t broken deliberately — it’s just broken.