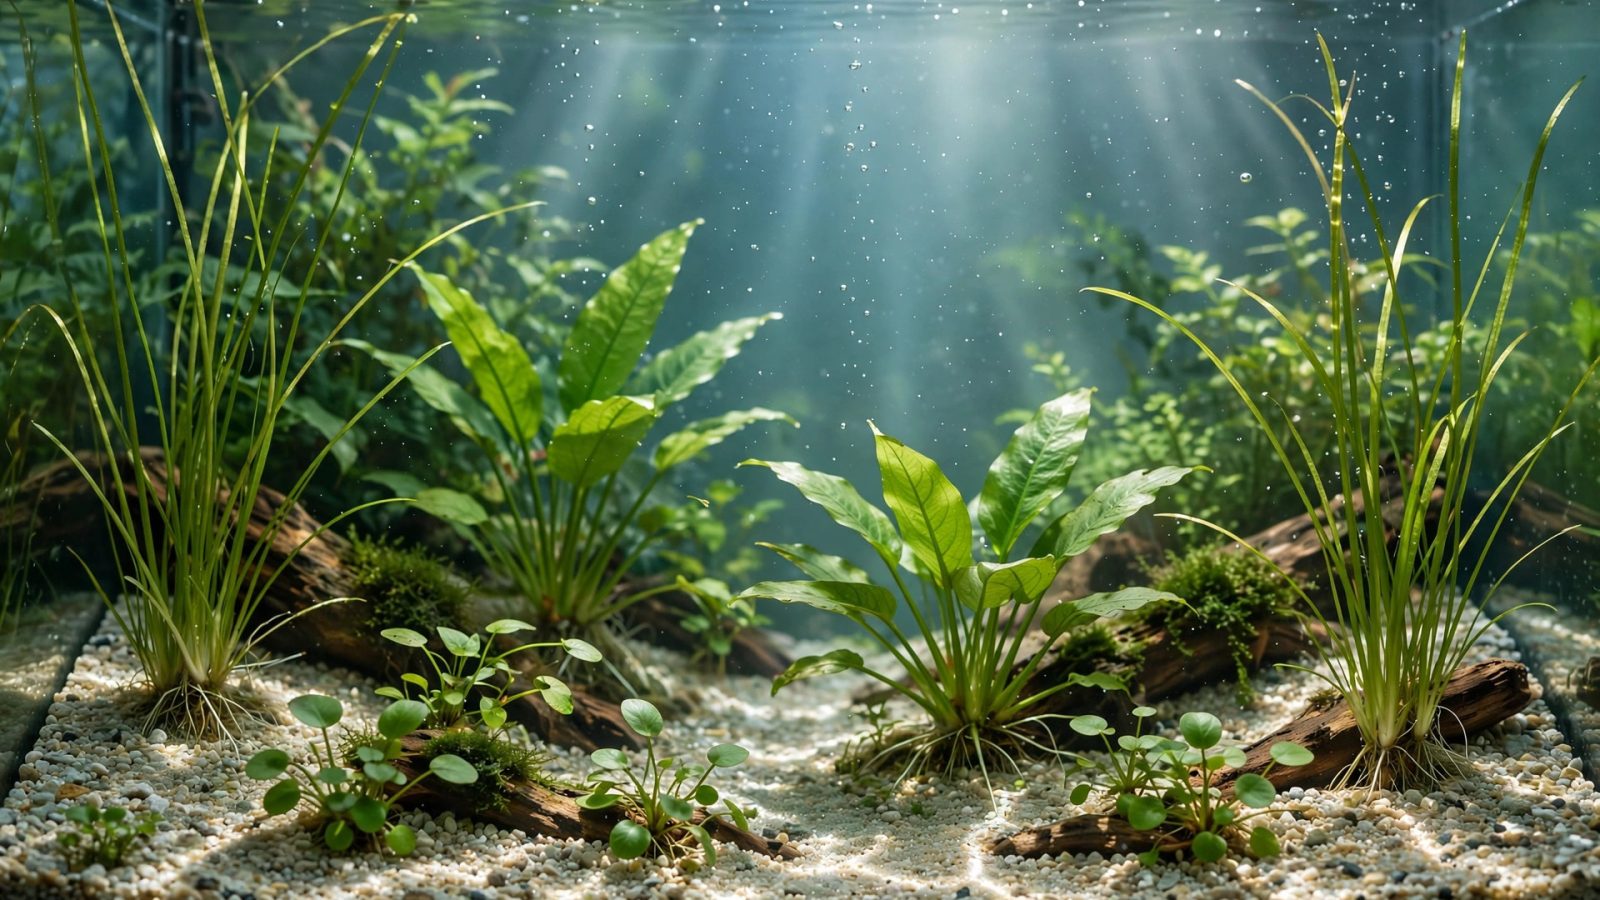
Vacuuming substrate in a planted tank feels like defusing a bomb: one wrong move uproots the carpet, blasts soil through the cap, or shreds delicate roots. Yet cleaning aquarium substrate without harming plants is essential — neglected beds accumulate organic waste that fuels algae, harbors pathogens, and eventually goes anaerobic.
The secret: planted tanks need different cleaning than fish-only tanks — gentler, more targeted, and with an appreciation that some “dirt” (mulm) is actually plant food. Here’s the complete technique.
Why Planted Tanks Need Gentler Cleaning
In a fish-only tank, you jam the siphon deep into the gravel and churn it — the goal is removing everything. In a planted tank, aggressive cleaning:
- Uproots plants — especially new plantings and shallow-rooted carpets.
- Destroys the nutrient zone — in aquasoil, deep vacuuming sucks up the fertile granules; in dirted tanks, it breaches the cap.
- Removes beneficial mulm — decomposed organic matter in the lower substrate layers feeds roots. Sterile substrate grows worse plants.
- Disrupts bacterial colonies — the substrate bed is a major biofilter; churning it causes mini-cycles.
The planted-tank mantra: clean the surface, respect the depths.
The Core Technique: Hover, Don’t Plunge
- Use a narrow siphon tube (or pinch a wide one to reduce flow). High flow uproots; gentle flow lifts detritus.
- Hover 1–2cm above the substrate surface. Wave the tube gently side to side — the water movement lifts loose detritus and mulm into the siphon while the substrate stays put.
- Work in sections. Clean 1/3 of the tank’s surface per water change, rotating zones. This never disturbs too much at once.
- Around plant bases: Hover carefully, using your free hand to shield delicate stems from the current. For carpeted areas, barely skim — carpets trap detritus, but aggressive cleaning tears them.
- Hardscape bases: Detritus accumulates where wood meets substrate and behind stones. These dead spots need attention — use a turkey baster to blast debris out, then siphon it up.
Cleaning by Substrate Type
Aquasoil
Surface-hover only, always. Never plunge into aquasoil — you’ll suck up granules, destroy the bed structure, and release a nutrient plume that feeds algae. If the aquasoil surface looks dirty, you’re seeing mulm that the plants are using; light skimming is plenty. As aquasoil ages (18+ months) and granules soften, be even gentler.
Sand
Hover just above the surface — sand’s density means detritus sits on top, making it the easiest substrate to clean. Every few weeks, gently rake the top centimeter with a fork to release trapped debris, then hover-siphon. For sand bed health, occasionally poke deeper with a skewer to prevent compaction (but don’t churn).
Gravel
Gravel tolerates (and needs) deeper cleaning than aquasoil or sand — detritus falls between the grains where hovering can’t reach. In planted gravel areas, push the siphon 2–3cm deep but away from plant root zones — clean the open areas thoroughly, the planted areas gently. In unplanted zones, clean as aggressively as a fish-only tank.
Dirted (soil + cap)
Treat like aquasoil: surface only, extreme gentleness. Breaching the cap releases soil. If you see the cap thinning in spots, top up with fresh sand rather than cleaning harder.
The Mulm Question: Friend or Foe?
Mulm — the brown organic sediment in established substrates — is plant fertilizer. Decomposing fish waste, dead root matter, and settled organics release nitrogen, phosphorus, and micronutrients directly to roots. Old, “dirty” substrates famously grow plants better than new sterile ones, and mulm is why.
The nuance: surface mulm (visible brown film on the substrate) is mostly aesthetic — siphon it for looks. Deep mulm (in the lower bed) is functional — leave it. The mistake is treating all mulm as waste to be eliminated; the goal is managing the visible surface while preserving the working depths. This is the “mulm-as-fertilizer nuance most guides miss”: a planted tank with zero mulm is a tank you’re fertilizing to compensate for what you removed.
Tools That Make It Easier
- Narrow siphon / nano gravel vac: Precision cleaning around plants. Essential for tanks under 100L.
- Turkey baster: Blast detritus out of crevices, from under wood, between stones — then siphon the cloud. The single most useful planted-tank cleaning tool.
- Long tweezers: Remove large debris (dead leaves, food chunks) by hand instead of siphoning near delicate plants.
- Fine filter floss: Run in the filter after cleaning sessions to catch stirred particles.
- Substrate spatula: Smooth and recontour the surface after cleaning without deep disturbance.
Cleaning Schedule
- Weekly water change: Hover-siphon 1/3 of the surface (rotating zones) + turkey-baster dead spots.
- Monthly: Gentle rake of sand tops or light gravel agitation in open zones; trim dead leaves (they become mulm if left).
- Quarterly: Assess — is the bed compacting? (Poke test.) Is the cap thinning? (Top up.) Are there anaerobic warning signs? (Smell test when poking — rotten eggs means action needed.)
- Never: Full-bed deep clean in a planted tank. If the substrate is truly fouled beyond surface management, that’s a rescape situation, not a cleaning situation.
Special Situations
New tank (first 2 months)
Clean minimally — the bacterial colonies are establishing, plants are rooting, and disturbance sets back both. Light surface skimming only. The diatoms and mild mess of a new tank are normal and pass.
Algae outbreak cleanup
Remove as much algae manually as possible (it’s nutrient-loaded), siphon thoroughly but still respecting the no-deep-disturbance rule, and run filter floss. The cleaning supports the anti-algae campaign; it doesn’t replace fixing the underlying light/nutrient imbalance.
After rescaping
Expect a mess — disturbed substrate releases everything. Large water change immediately, run floss for 48 hours, then leave the bed alone for 2 weeks to re-settle before resuming normal cleaning.
Breeding tanks with fry
Skip substrate cleaning entirely while fry are on the bottom — siphon water from mid-tank only. The infusoria and microfauna in the mulm are fry food. Resume gentle cleaning once fry are free-swimming and robust.
Signs You’re Cleaning Wrong
- Plants uprooting regularly → too much flow, too deep, too close.
- Persistent cloudiness after cleaning → disturbing too deeply; let the bed settle.
- Carpet tearing or thinning → siphon too close/strong over carpet zones.
- Soil/mud in the water (dirted tanks) → breached cap; top up sand, clean gentler.
- Aquasoil granules in the bucket → plunging into the bed; hover only.
- Ammonia spike after cleaning → disrupted bacterial colonies; clean smaller zones per session.
The Philosophy
A planted substrate is a living system — bacteria, roots, microfauna, and slow nutrient cycling. Clean it like you’d tend a garden bed, not like you’d scrub a floor: remove the surface litter, respect the soil life below, and let the ecosystem do most of the work. The best-maintained planted substrates are the ones interfered with least, attentively.
Deep-Cleaning Without Destruction: The Section Method
When a gravel bed is genuinely fouled — years of neglect, visible waste packed between grains — the section method rehabilitates it without a teardown:
- Divide the tank into quarters mentally. You’ll deep-clean one quarter per week over a month.
- Move hardscape from the target quarter temporarily (plants stay).
- Plunge-siphon the open areas of that quarter thoroughly, working around plant bases — deep churn where there are no roots, gentle hover near them.
- Replace hardscape, do a normal water change, and leave the quarter alone for a week.
- Repeat for the next quarter.
Spreading the disturbance across a month prevents the bacterial crash and ammonia spike that a whole-tank deep clean causes. Never attempt this on aquasoil or dirted beds — it’s a gravel/sand-only technique.
The Snail and Fish Cleaning Crew
Biological cleaners reduce your workload genuinely:
- Malaysian trumpet snails: Burrow through substrate nightly, aerating it and eating buried waste. The single best substrate-maintenance animal. They reproduce readily — a feature, not a bug, in planted tanks.
- Nerite snails: Superb surface cleaners — they graze the substrate top, glass, and hardscape tirelessly. Don’t reproduce in freshwater (no population explosion).
- Corydoras: Their constant sifting turns over the top sand layer, preventing surface compaction. They don’t deep-clean, but they keep the surface lively.
- Otocinclus: Plant-leaf cleaners primarily, but they graze substrate surfaces too.
A cleaning crew doesn’t replace your siphon — but it extends the interval between needed cleanings and keeps the bed healthier between them.
Water-Change Technique for Planted Tanks
Cleaning and water changes are one operation in planted tanks. Optimize both:
- Drain first, then clean: Lower water level 30–40% before siphoning substrate — less water means better siphon control and less disturbance spread.
- Refill gently: Pour new water over a plate or through a colander to avoid blasting the substrate. Temperature-match and dechlorinate.
- Clean the filter on a different week than heavy substrate cleaning — never disrupt both bacterial homes simultaneously.
- Dose fertilizer after the water change, not before — you’re replacing what the change removed.
FAQ
How often should I vacuum a planted tank?
Surface-hover 1/3 of the tank weekly during water changes. That’s it for most tanks. Heavily stocked tanks may need more; lightly stocked Walstad-style tanks may need almost none.
Should I clean under hardscape?
Yes — the dead spots under wood and behind rocks accumulate the most waste. Turkey-baster blast + siphon monthly. If you can’t reach without moving the hardscape, move it quarterly for a thorough clean.
My substrate smells like rotten eggs — emergency?
Hydrogen sulfide from anaerobic decomposition. Don’t panic, but act: gently poke the area with a skewer to release gas (with filter running and good surface agitation), increase water changes for two weeks, add trumpet snails, and reduce the organic load (less food, remove dead leaves). Persistent severe cases in deep beds may need partial substrate replacement. Prevention — proper depth and regular gentle maintenance — beats cure.
Can I use a gravel vac on aquasoil?
Only hovered above the surface, never plunged in. If you need the suction for detritus, pinch the hose to reduce flow. Aquasoil and aggressive vacuuming are incompatible — accept surface cleaning as the method.