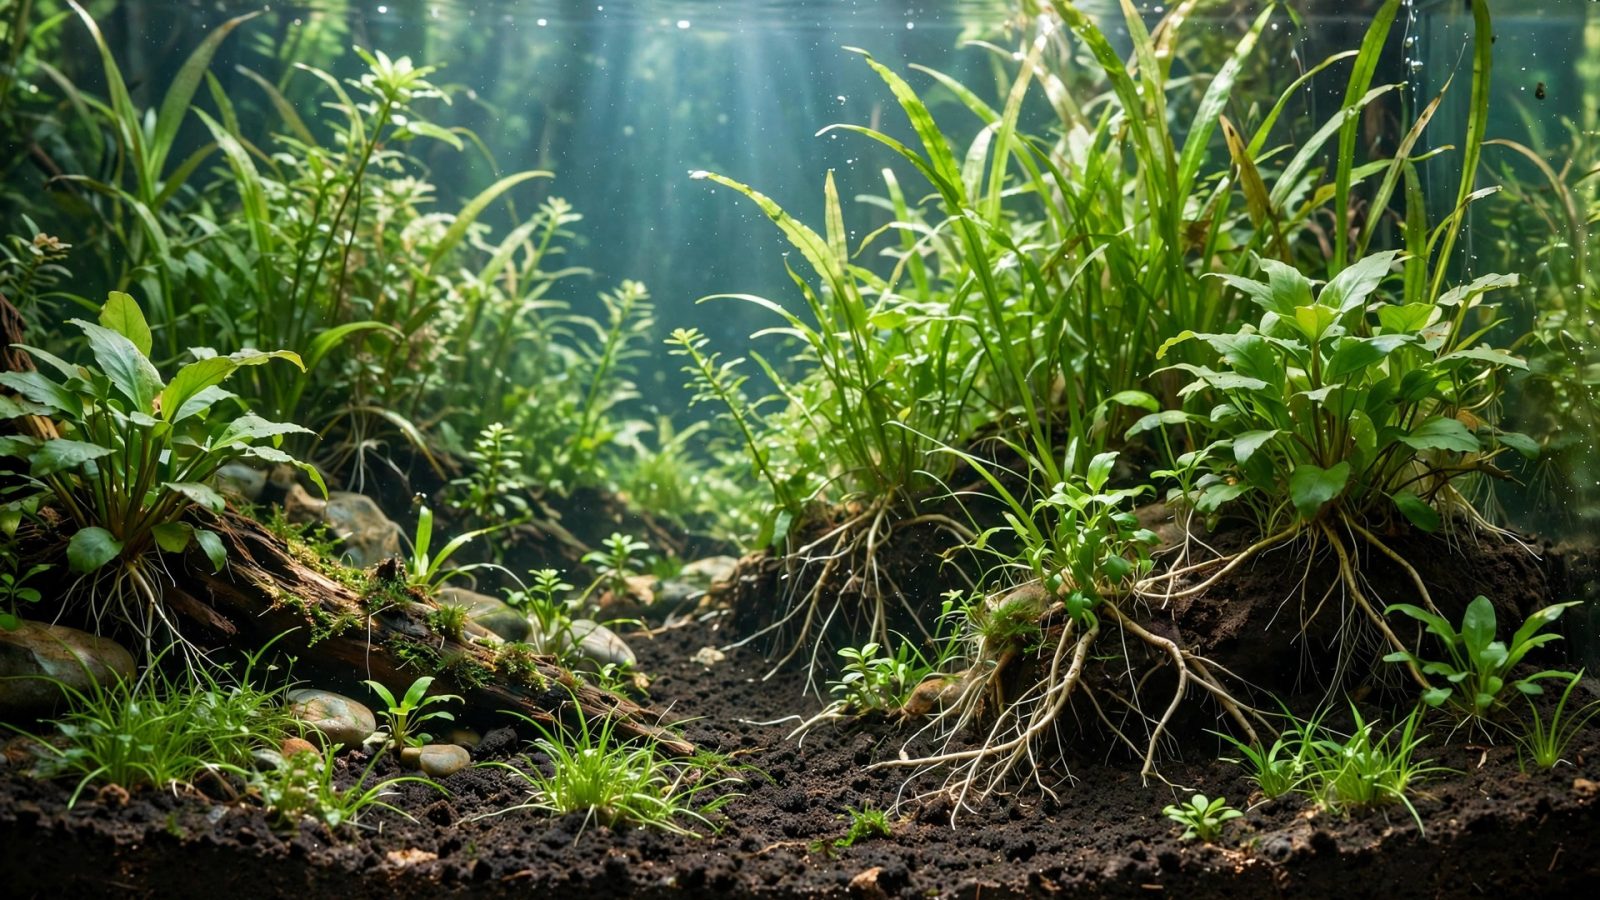
A bag of organic topsoil costs $5. Properly prepared, it grows aquarium plants as well as premium aquasoil costing 10× more. The preparation process — mineralizing topsoil for aquarium use — converts raw dirt into a safe, nutrient-rich substrate through repeated soak-and-dry cycles that burn off the excess organics responsible for ammonia spikes, algae blooms, and anaerobic disasters.
This is the famous “dirted tank” method (Walstad method and its derivatives). Done right, it’s the best value in planted tanks. Done wrong — raw soil straight into the tank — it’s a muddy, algae-choked mess. Here’s the complete process.
What Is Mineralized Topsoil?
Raw topsoil is full of undecomposed organic matter: bits of bark, leaves, manure, and fertilizers. Submerged, this material decomposes rapidly, releasing ammonia, tannins, and organic acids while consuming oxygen — the recipe for algae blooms, livestock stress, and foul anaerobic pockets.
Mineralization is controlled pre-decomposition: you repeatedly soak the soil (letting bacteria break down organics) and dry it completely (killing the bacteria and oxidizing the remains). Each cycle converts more organic matter into stable mineral nutrients bound to soil particles. After 3–4 cycles, what remains is nutrient-rich but biologically quiet — all the plant food, none of the chaos.
Choosing the Right Soil
This step determines success or failure. Look for:
- Organic topsoil or organic potting soil with no added fertilizers, no manure, no “moisture control” crystals, no perlite/vermiculite (those white bits float forever).
- Ingredient list should read like dirt: composted bark, peat, soil. If it lists chemical fertilizers (numbers like 10-10-10), slow-release pellets, or wetting agents, reject it.
- Miracle-Gro Organic Choice was the classic hobby recommendation; formulations change, so always read the current bag.
- Avoid: soils with large wood chunks (remove them), manure-heavy composts, anything with pesticides or herbicides.
Buy an extra bag — you’ll lose 20–30% of volume to removed debris and decomposition during mineralization.
The Mineralization Process: Step by Step
Step 1: Sift and clean (Day 1)
Spread the soil on a tarp and remove every piece of wood, bark chunk, stick, and suspicious pellet you can find. Break up clods. This tedious hour prevents months of floating debris and tannin leaching later. Some aquarists sift through 1/4-inch hardware cloth — worth it for large batches.
Step 2: First soak (Days 1–4)
Put the soil in a large tub or bucket, cover with 10–15cm of water, and stir thoroughly. Leave it. Within 2–3 days the water will smell earthy-to-foul and may grow a bacterial film — that’s decomposition happening, exactly what you want outside your tank.
Step 3: Drain and dry (Days 4–7)
Pour off the water (it’s full of released organics — great for garden plants, terrible for aquariums). Spread the mud thin on tarps in the sun. Let it dry completely — bone dry, crumbly, no damp core. Sun-drying takes 2–4 days; the UV also helps sterilize. This drying kills the anaerobic bacteria from the soak phase.
Step 4: Repeat 3–4 times (Weeks 2–4)
Soak again, drain, dry again. Each cycle: the soak water gets progressively clearer and less smelly, and the dried soil gets darker and more crumbly. You’re done when the soak water after 3 days is only mildly tea-colored with no foul smell, and the dried soil is uniform dark brown with no visible undecomposed bits. Typically 3–4 full cycles; impatient aquarists stop at 2 and regret it.
Step 5: Final sift and optional amendments
After the last drying, sift once more and consider mixing in:
- Clay (10–20%): Pottery clay or laterite adds iron and improves cation exchange — the soil holds nutrients better. This is the “secret ingredient” in many great dirted tanks.
- Crushed coral or dolomite (small amount): Only if your water is very soft and you want pH buffering; skip for soft-water setups.
- Nothing else. Don’t add fertilizers — the point is a balanced natural soil, not a chemistry experiment.
Setting Up the Dirted Tank
Soil layer: 2–3cm, no more. Thick dirt layers go anaerobic and release excess nutrients — the #1 dirted-tank failure. Spread mineralized soil evenly, mist it damp, and press gently flat.
Cap: 3–4cm of sand or fine gravel. The cap is structural — it holds the soil down, prevents mud plumes when planting, and gives a clean surface. Pool filter sand is the classic choice. Our capping guide covers the technique that keeps layers separate.
Fill slowly over a plate. Plant heavily immediately — dirted tanks need plant mass from day one to absorb the initial nutrient release. Large water changes (50% twice weekly) for the first month, same as new aquasoil. Even mineralized soil releases some nutrients initially.
What to Expect: The First 6 Months
Month 1: Possible mild diatoms and some tannin tinting (purigen clears it). Plants establish — crypts and swords take off first. Test ammonia weekly; small spikes are normal, large ones mean your mineralization was incomplete.
Months 2–4: The golden period. Growth rivals aquasoil tanks. Root feeders are spectacular — this is where dirt shines brightest.
Months 6–12: Growth normalizes as the initial charge depletes. Supplement with root tabs for heavy feeders. The soil itself remains a good CEC (cation exchange) medium indefinitely — it holds onto nutrients from your water-column dosing and releases them to roots.
Year 2+: A mature dirted bed with mulm accumulation is genuinely one of the most fertile substrates possible — many Walstad tanks run 5+ years without substrate changes, improving with age. The tradeoff: rescaping is messy (see below).
Dirted Tank Challenges (Honest Version)
- Rescaping is messy. Uprooting plants pulls mud through the cap. Replant quickly, siphon the plume, and accept temporary cloudiness. Plan your layout carefully upfront — dirted tanks reward commitment.
- Burrowing livestock can breach the cap. Large cichlids, goldfish, and enthusiastic loaches dig through to the soil. Dirted tanks suit peaceful community fish, not excavators.
- Initial algae risk is real if mineralization was rushed. There’s no shortcut — incomplete prep means fighting algae for months.
- Soil settling creates low spots over the first months. Top up the cap as needed.
- You can’t easily change your mind. Removing a dirted substrate means a full teardown. Be sure before you commit.
Mineralized Topsoil vs Aquasoil
Nutrition: comparable for root feeders in year one. Cost: dirt wins enormously ($5 vs $80). Convenience: aquasoil wins enormously (open bag vs month of prep). Cleanliness: aquasoil. Longevity: dirt often wins — mature dirted beds outlast aquasoil granules. Buffering: aquasoil buffers pH/KH; dirt generally doesn’t (neutral point for dirt, advantage aquasoil for soft-water setups).
Our full soil vs gravel comparison puts dirt in context with all substrate options.
FAQ
Can I use garden soil from my yard?
Risky. Unknown pesticide, herbicide, and fertilizer history; possible parasites. Bagged organic topsoil with a readable ingredient list is safer and still cheap.
Do I need to mineralize, or can I use soil raw?
Diana Walstad’s original method uses raw soil — but with very specific constraints: light fish load, heavy planting, soil under 2.5cm, and acceptance of an ugly first 2–3 months. Mineralization is the refined version that skips most of the pain. For beginners, mineralize.
Will the soil exhaust?
The initial nutrient charge depletes over 1–2 years, but the soil’s CEC persists — it keeps capturing nutrients from water-column dosing and fish waste indefinitely. Supplement with root tabs and a mature dirted bed stays productive for many years.
Is dirt safe for shrimp and sensitive fish?
Fully mineralized soil is safe — the process removes the ammonia and organics that would threaten livestock. Cycle the tank normally and test before adding sensitive species. Many award-winning shrimp tanks run on dirted substrates.
Troubleshooting Dirted Tanks
Persistent cloudiness after setup
Usually insufficient cap depth or too-thin cap over the soil. Add another 1–2cm of sand carefully, pouring over a plate. If the water is brown (tannins) rather than cloudy (particles), that’s harmless and clears with water changes and Purigen.
Ammonia not dropping after 3 weeks
Mineralization was incomplete, or the soil layer is too thick. Increase water changes to 50% every other day, reduce feeding to zero if fishless, and consider removing some soil if the layer exceeds 3cm. It will stabilize — you’re just finishing outdoors what should have finished on the tarp.
Hydrogen sulfide (rotten egg smell)
Anaerobic decomposition in the soil layer — usually too thick, too fine a cap sealing it, or excessive organic load. Poke the substrate gently with a skewer to release gas (do this with the filter running and livestock observed), reduce the soil depth if possible, and add Malaysian trumpet snails. Persistent severe cases may require removing and redoing the substrate — painful but better than chronic livestock stress.
Plants melting in a new dirted tank
Some melting is normal transition (especially crypts). Widespread melting across species suggests ammonia burn — test immediately and water-change aggressively. Once ammonia reads zero, replant losses; the second planting almost always takes off.
Advanced: The Hybrid Dirted-Aquasoil Approach
Experienced aquarists sometimes combine methods: a thin mineralized-soil base (1–2cm) under aquasoil. The dirt provides long-term CEC and nutrient depth; the aquasoil provides clean planting, good looks, and initial punch. This is a competition-aquascaper trick for tanks that must peak at 6 months and stay strong at 18. It’s overkill for most hobbyists, but worth knowing the option exists.
Seasonal and Practical Tips
- Mineralize in summer if you can — sun-drying is dramatically faster and the UV sterilization is a genuine bonus. Winter mineralization works but takes twice as long.
- Prepare extra. Mineralized soil stores dry indefinitely in sealed buckets. Future tanks, friends’ tanks, and top-ups are all easier with a stash.
- Label your buckets. Mineralized soil looks like… dirt. Future-you will thank present-you for labels noting the source brand and cycle count.
- Keep the cap clean. A dirted tank’s cap is its public face — regular light siphoning (see substrate cleaning) keeps it pristine and prevents organic buildup from migrating downward.
Is It Worth the Effort?
A month of weekends for a substrate that costs $5 and outperforms $80 aquasoil in year one? For the budget-conscious, the DIY-inclined, and anyone running multiple tanks, absolutely. For a single showpiece aquascape where time matters more than money, buy aquasoil. The plants, frankly, don’t care about your effort — they care about nutrients, and both paths deliver.
Soil Selection Deep Dive: Reading the Bag
Learning to read soil bags is a skill that pays off beyond aquariums. Here’s what the label tells you:
- “Organic” on the bag is unregulated for potting soils in many regions — it doesn’t guarantee chemical-free. Read the ingredient list, not the marketing.
- Ingredient red flags: ammonium nitrate, urea, “starter fertilizer,” polymer-coated prills (slow-release fertilizer balls — pick them all out if present, or reject the bag), wetting agents/surfactants, biosolids/sludge.
- Good signs: composted pine bark (fine grade), sphagnum peat, aged compost, sand, loam. Peat-heavy mixes are fine — peat is a natural aquarium material that mildly softens water.
- The squeeze test: Dampen a handful and squeeze. Good topsoil holds shape briefly then crumbles. Soil that stays in a slick ball has too much clay; soil that won’t hold at all is too sandy. Either works after mineralization, but loamy soil in the middle is easiest.
- The smell test: Fresh bag should smell earthy, not chemical or strongly of ammonia. A strong ammonia smell means fresh manure content — mineralization will handle it, but you’ll need extra cycles.
Mineralization Without Outdoor Space
Apartment dwellers can mineralize indoors with adjustments: use smaller batches in storage tubs, dry on baking sheets near a sunny window or with a fan (takes 5–7 days per cycle instead of 2–3), and manage the earthy smell with a ventilated room. It’s slower but entirely workable. Alternatively, some aquarists mineralize in oven at the lowest setting (80–90°C) for a few hours per cycle — effective but energy-intensive and guaranteed to make your kitchen smell like a forest floor.
Documenting Your Process
Keep notes: soil brand, number of cycles, soak durations, observations. Dirted-tank success is reproducible if you know what you did. The hobby’s collective knowledge of mineralization exists because aquarists shared exactly these details. When your tank is thriving at month eight, you’ll want to know precisely how to repeat it.